Introduction
In today’s fast-paced world, smart home devices are increasingly popular due to their convenience and energy-saving capabilities. Among these devices, the Kasa Smart Plug stands out as a versatile option. This innovative tool allows users to control appliances remotely through smartphones or voice commands via smart assistants such as Amazon Alexa or Google Assistant. In this comprehensive guide, we will walk you through the Kasa Smart Plug setup process, providing valuable tips and troubleshooting advice along the way.
What is the Kasa Smart Plug?
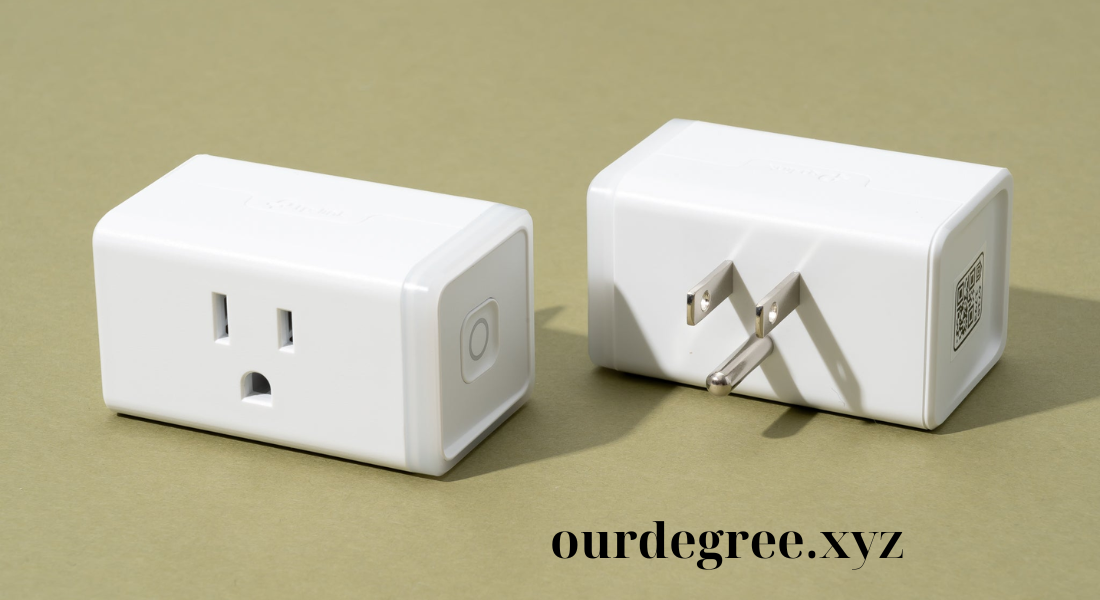
Before diving into the setup process, it’s essential to understand the Kasa Smart Plug’s functionalities and benefits. Essentially, this Wi-Fi-enabled device plugs into any standard outlet, granting you control over the connected appliances directly from your smartphone. By using the Kasa Smart Plug, you can easily turn devices on or off remotely, making it perfect for everyday use, whether you want to power up your coffee maker in the morning or turn off your living room lights at night.
Additionally, the smart plug allows you to set schedules and timers, enabling you to automate your home efficiently. For example, you can program the Kasa Smart Plug to turn on your lamps at sunset or ensure that your devices are switched off when not in use. Furthermore, you can monitor energy usage through the Kasa app, helping you identify which devices consume the most power and potentially save on your electricity bills.
Benefits of Using Kasa Smart Plug
Utilizing the Kasa Smart Plug offers numerous advantages:
- Remote Control: Effortlessly turn your devices on or off from anywhere using your smartphone.
- Energy Monitoring: Keep track of your energy consumption, helping you save on bills.
- Scheduling: Set specific times for devices to turn on or off automatically.
- Voice Control: Integrate with smart assistants for hands-free operation.
- Easy Setup: Enjoy a straightforward and user-friendly installation process.
Requirements for Kasa Smart Plug Setup
Before starting the Kasa Smart Plug setup, ensure you have the following items ready:
- A Wi-Fi network (2.4GHz band).
- The Kasa Smart Plug device.
- A smartphone with the Kasa app installed.
- An Amazon Alexa or Google Assistant device (optional).
Step-by-Step Guide to Kasa Smart Plug Setup
Step 1: Download the Kasa App
First, download the Kasa Smart app from either the Google Play Store or the Apple App Store. This app is essential for setting up and controlling your smart plug.
- Open the app store on your smartphone.
- Search for “Kasa Smart.”
- Download and install the app.
Step 2: Create an Account
Once the app is installed, open it and create a new account if you don’t already have one. Follow the on-screen instructions to register.
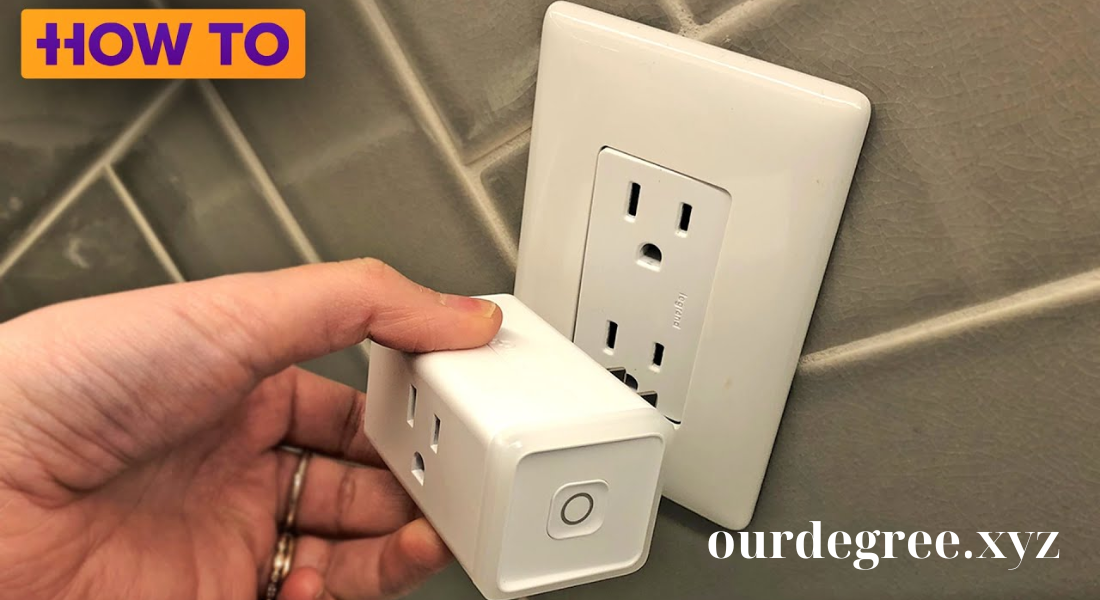
Step 3: Plug in Your Kasa Smart Plug
Next, locate a suitable outlet. Choose a location where you want to control your device effectively.
- Plug the Kasa Smart Plug into the outlet: Ensure it’s securely connected.
Step 4: Connect to Wi-Fi
Now, open the Kasa app and log in to your account.
- Tap on the “+” icon: This is typically located in the top right corner.
- Select “Smart Plug” from the device list: The app will guide you through the setup process.
- Choose your Wi-Fi network: Enter your Wi-Fi password when prompted. Make sure you are connecting to a 2.4GHz network, as the smart plug may not work on 5GHz.
Step 5: Pair the Device
After entering your Wi-Fi details, the Kasa Smart Plug will attempt to connect to your network. This process may take a minute or two. Once connected, the LED light on the smart plug will change from blinking to solid.
Step 6: Rename Your Smart Plug
Assigning a name to your smart plug will help you identify it easily when using voice commands or the app.
- Choose a descriptive name: For instance, “Living Room Lamp” or “Coffee Maker.”
Step 7: Add to a Room (Optional)
For better organization within the app, you can add the smart plug to a specific room. This feature proves particularly useful if you have multiple devices.
- Select the room option in the app: Choose from existing rooms or create a new one.
- Assign the smart plug to the selected room.
Step 8: Test Your Smart Plug
Once setup is complete, it’s essential to test the smart plug to ensure it functions correctly.
- Use the Kasa app to turn the smart plug on and off: Check if the connected device responds accordingly.
- Try using voice commands: If you have an Alexa or Google Assistant device, attempt turning the smart plug on or off using voice commands.
Troubleshooting Common Issues
Despite its user-friendly design, you might encounter some issues during the Kasa Smart Plug setup. Here are some common problems and their solutions:
- Wi-Fi Connection Issues:
- Ensure your smartphone is connected to the same Wi-Fi network.
- Check if your router is functioning properly. If not, consider restarting it.
- App Not Detecting the Smart Plug:
- Make sure the smart plug is powered on and in pairing mode (the LED should be blinking).
- Move the smart plug closer to the router during the setup process.
- Device Not Responding:
- Verify that the connected device is compatible with the smart plug.
- Restart the smart plug by unplugging it and plugging it back in.
- Firmware Update:
- Regularly check for firmware updates in the Kasa app to ensure optimal performance.
Advanced Features of Kasa Smart Plug
Once you’ve mastered the basic setup, you can explore the advanced features available through the Kasa app. These enhancements will elevate your smart home experience:
- Scheduling: Set specific times for your devices to turn on and off automatically.
- Timer Function: Use the timer feature to run devices for a specified duration.
- Away Mode: Simulate occupancy while you’re away by scheduling lights to turn on and off at random intervals.
- Energy Monitoring: Track your energy usage through the app and optimize your settings for efficiency.
Integrating with Smart Home Systems
The Kasa Smart Plug seamlessly integrates with various smart home systems, allowing for enhanced control and automation.
Using with Amazon Alexa
- Enable Kasa Skill: In the Alexa app, search for the Kasa skill and enable it.
- Link your Kasa account: Follow the prompts to connect your account.
- Discover devices: Simply ask Alexa to discover devices, and it will automatically find your Kasa Smart Plug.
Using with Google Assistant
- Link your Kasa account: Open the Google Home app and link your Kasa account.
- Discover devices: Google Assistant will quickly find your Kasa Smart Plug.
- Use voice commands: Control your smart plug with simple and intuitive voice commands.
Conclusion
Setting up your Kasa Smart Plug is a straightforward process that opens the door to smart home automation. By enabling the ability to control devices remotely, schedule operations, and monitor energy usage, the Kasa Smart Plug becomes an essential tool for modern living. By following the steps outlined in this guide, you can easily integrate this smart device into your home and enjoy the convenience it offers.
Furthermore, don’t forget to explore its advanced features and integration options to maximize your smart home experience. With the Kasa Smart Plug setup complete, you’re now equipped to enhance your home’s efficiency and convenience. Enjoy the benefits of smart living today!
